Home DIY Projects: A Creative Approach to Personalize Your Furniture
Personalizing your furniture is a great way to add character and uniqueness to your home decor. With the rise of Do-It-Yourself (DIY) projects, it’s easier than ever to create custom pieces that reflect your personal style. Home DIY projects are a creative approach to personalizing your furniture and can be a fun and rewarding experience.
Table of Contents
DIY projects allow you to transform an ordinary piece of furniture into something that is truly one-of-a-kind. Whether you’re looking to add a pop of color or a new texture, the possibilities are endless. From painting and staining to reupholstering and refinishing, there are many techniques that can be used to personalize your furniture. Not only will you have a unique piece that reflects your personal style, but you’ll also have the satisfaction of knowing that you created it yourself.
Planning Your DIY Furniture Projects
When it comes to DIY furniture projects, planning is key to achieving a successful outcome. Here are some important considerations to keep in mind before getting started.
Choosing the Right Pieces to Personalize
The first step in planning your DIY furniture project is to choose the right piece to personalize. Consider the style and function of the piece, as well as its condition. It’s important to choose a piece that is sturdy and in good condition, as this will make the project easier and ensure a longer lifespan for the finished product.
Design and Aesthetics Considerations
Once you have chosen your piece, it’s time to start thinking about the design and aesthetics of your project. Consider the overall style you are going for, as well as any specific colors or patterns you want to incorporate. It can be helpful to create a mood board or gather inspiration from other DIY projects online.
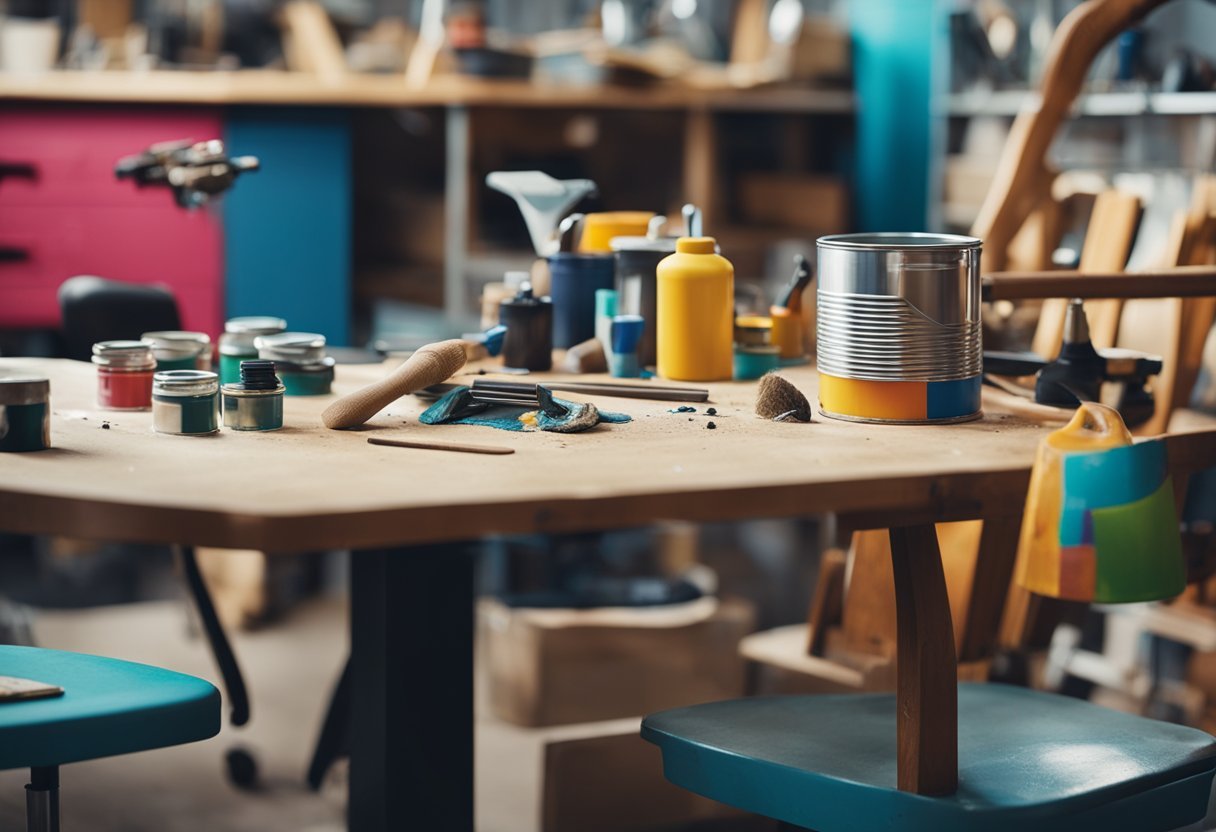
Setting Up Your Workspace
Before getting started on your DIY furniture project, it’s important to set up a workspace that is both safe and functional. Make sure you have all the necessary tools and materials on hand, and that your workspace is well-ventilated and free of clutter. It’s also a good idea to protect your floors and other surfaces with drop cloths or cardboard to prevent damage.
By taking the time to plan your DIY furniture project, you can ensure a successful outcome that reflects your personal style and creativity.
Tools and Materials
Essential Tools for DIY Furniture
Before starting any home DIY project, it is important to have the right tools. Some essential tools for DIY furniture include a drill, circular saw, jigsaw, hammer, screwdriver, measuring tape, and level. It is also important to have a workbench or sturdy table to work on.
Selecting Quality Materials
Choosing the right materials is crucial for a successful DIY furniture project. When selecting wood, look for straight, even grains and avoid any pieces with knots or cracks. Hardwoods such as oak, maple, and cherry are durable and long-lasting, while softwoods like pine and cedar are more affordable but may not be as sturdy. Other materials to consider include screws, nails, glue, and finishing products such as paint, stain, or varnish.
Safety Equipment and Best Practices
Safety should always be a top priority when working on DIY furniture projects. It is important to wear protective gear such as safety glasses, gloves, and a dust mask. When using power tools, make sure they are properly grounded and never leave them unattended while in use. Always follow the manufacturer’s instructions and use tools as intended. It is also important to work in a well-ventilated area and keep a fire extinguisher nearby.
Techniques and Methods
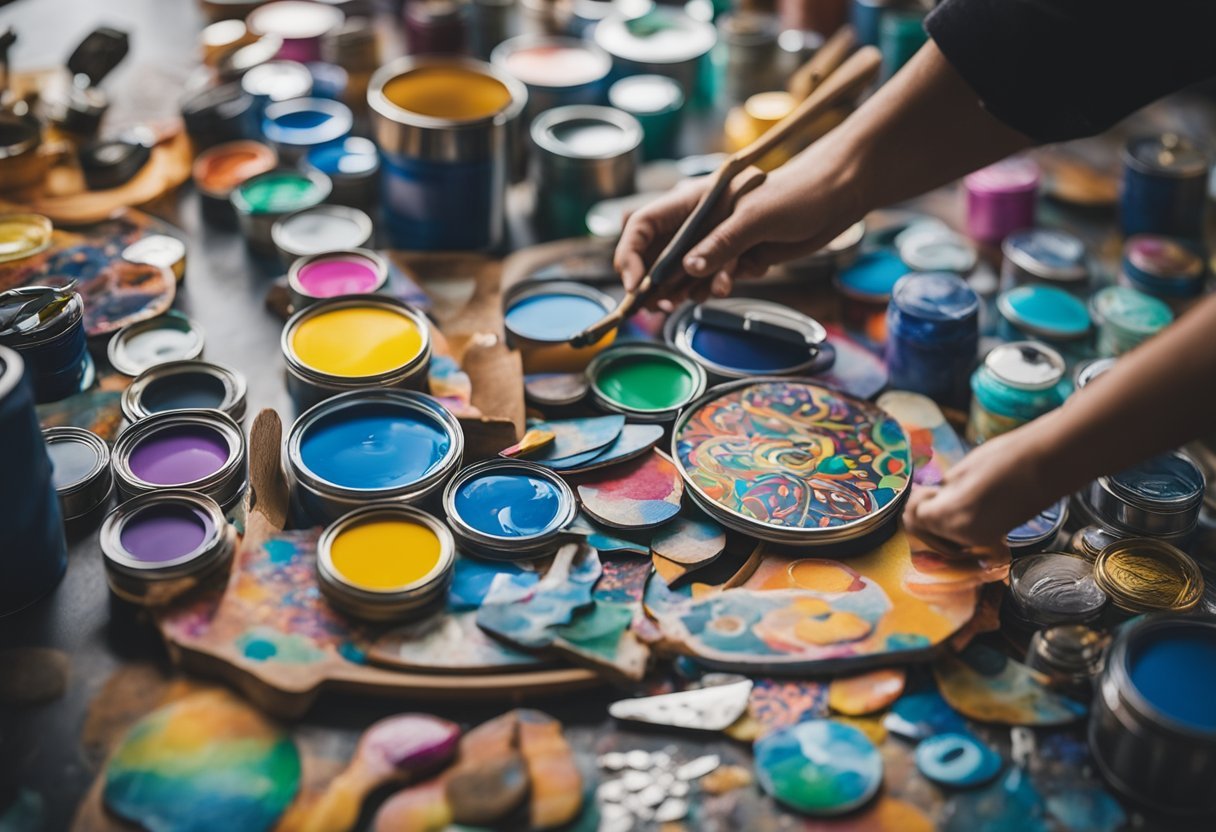
Painting and Staining
Painting and staining are two of the most popular techniques for personalizing furniture. They allow you to add color and texture to your furniture, and can be used to create a variety of different looks. When it comes to painting and staining, there are a few things to keep in mind. First, make sure you choose the right type of paint or stain for your furniture. Different types of wood and materials will require different types of paint or stain. Second, make sure you prepare your furniture properly before you start painting or staining. This may involve sanding, priming, or cleaning the surface of your furniture. Finally, take your time and be patient. Painting and staining can be time-consuming, but the end result will be worth it.
Upholstering Basics
Upholstering is a great way to personalize furniture and give it a new look. Whether you want to reupholster a chair or a sofa, there are a few basics to keep in mind. First, choose the right fabric for your furniture. Make sure the fabric is durable and will hold up to everyday wear and tear. Second, make sure you have the right tools and materials. This may include a staple gun, foam padding, and batting. Third, take your time and be patient. Upholstering can be a time-consuming process, but the end result will be a piece of furniture that is unique and personalized.
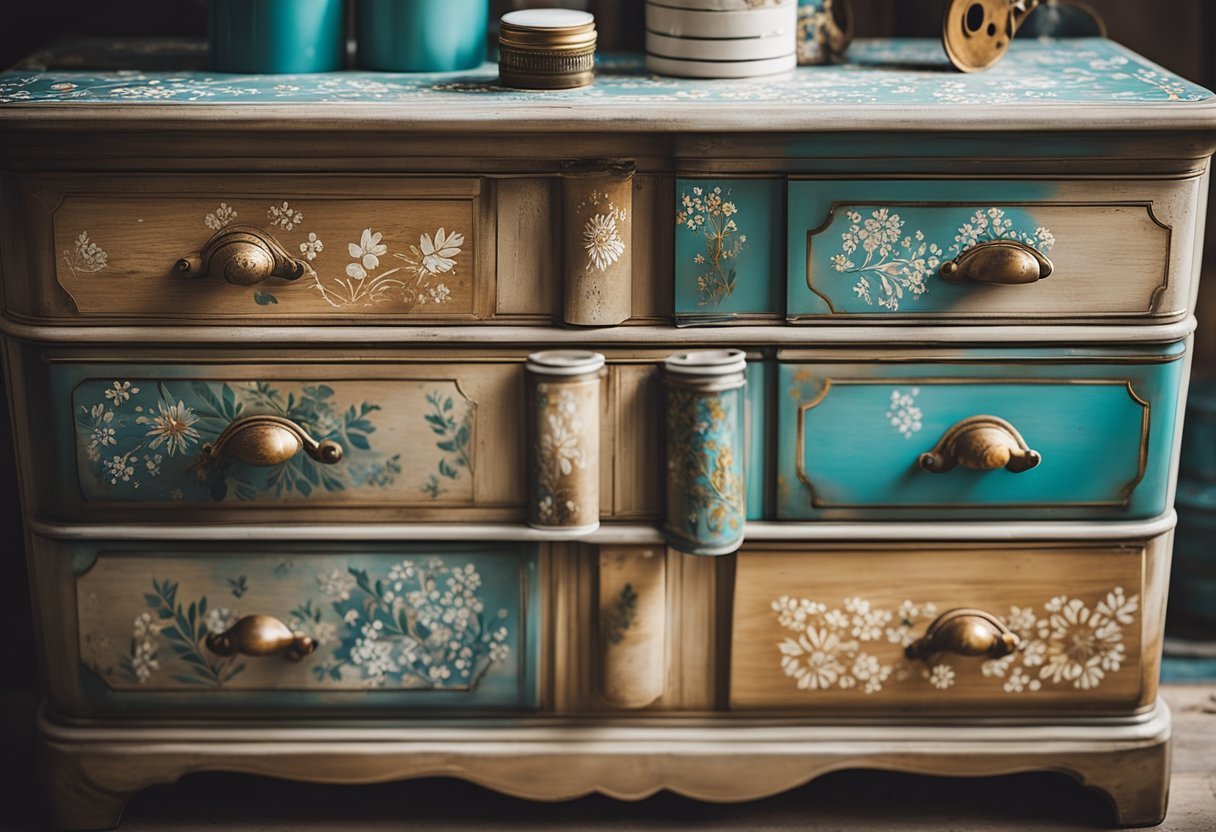
Customizing with Decoupage
Decoupage is a fun and easy way to customize furniture. It involves gluing paper or fabric onto furniture to create a unique design. To get started with decoupage, you will need a few basic supplies, including glue, scissors, and paper or fabric. First, choose the design you want to create. This can be anything from a floral pattern to a geometric design. Second, prepare your furniture by cleaning and sanding the surface. Third, apply a layer of glue to the surface of your furniture and place your paper or fabric on top. Smooth out any wrinkles or bubbles, and let the glue dry completely. Finally, apply a layer of sealant to protect your design and give it a finished look.
Step-by-Step Furniture Projects

Personalizing furniture can be a fun and creative DIY project that can add character and charm to any home. Here are three step-by-step furniture projects that can be done with minimal tools and materials.
Bookshelf Makeover
Transforming a plain bookshelf into a unique and stylish piece of furniture can be achieved with a few simple steps. Start by sanding down the bookshelf to remove any rough edges or bumps. Next, apply a coat of primer to the entire surface of the bookshelf. Once the primer is dry, use a paintbrush to apply a base coat of paint in the desired color. Allow the paint to dry completely before adding any additional details, such as stenciling or decoupage. Finish the project by applying a coat of sealant to protect the paint and give the bookshelf a polished look.
Reimagining a Coffee Table
A coffee table can be transformed into a unique and functional piece of furniture with a little creativity. Start by sanding down the surface of the coffee table to remove any scratches or imperfections. Next, use a paintbrush to apply a base coat of paint in the desired color. Once the paint is dry, use stencils or painter’s tape to create a design on the surface of the table. Apply a contrasting paint color over the design, and remove the stencils or tape once the paint is dry. Finish the project by applying a coat of sealant to protect the paint and give the coffee table a polished look.
Dining Chair Update
Updating dining chairs can be a simple and affordable way to add a pop of color and personality to any dining room. Start by removing the seat cushion from the chair frame. Sand down the surface of the chair frame to remove any rough edges or bumps. Next, use a paintbrush to apply a base coat of paint in the desired color. Once the paint is dry, use stencils or painter’s tape to create a design on the chair frame. Apply a contrasting paint color over the design, and remove the stencils or tape once the paint is dry. Finish the project by reupholstering the seat cushion with a fabric that complements the new design of the chair frame.
By following these step-by-step furniture projects, anyone can personalize their furniture and add a touch of creativity to their home décor.
Finishing Touches
After completing a DIY furniture project, it’s important to add finishing touches to give the piece a polished look. This section will cover two important aspects of finishing touches: sealing and protecting your work and adding decorative accents and hardware.
Sealing and Protecting Your Work
Sealing and protecting your DIY furniture project is essential to ensure its longevity. There are several options to choose from, including varnish, wax, and polyurethane. Each option has its own benefits and drawbacks, so it’s important to research and choose the best option for your specific project.
Varnish is a popular choice for sealing furniture because it’s durable and provides a glossy finish. Wax, on the other hand, provides a more natural look and feel, but may not be as durable. Polyurethane is a good option for high-traffic areas because it’s extremely durable and easy to clean.
Before applying any sealant, make sure to sand the surface of the furniture to ensure a smooth finish. Apply the sealant in thin, even coats, and allow each coat to dry completely before applying the next.
Decorative Accents and Hardware
Adding decorative accents and hardware to your DIY furniture project is a great way to personalize it and make it unique. There are many options to choose from, including knobs, handles, and decorative molding.
When choosing hardware, consider the style of the furniture piece and the overall aesthetic you’re trying to achieve. For example, if you’re going for a more rustic look, consider using wrought iron handles or knobs. If you’re going for a more modern look, consider using sleek, minimalist hardware.
In addition to hardware, you can also add decorative molding to your furniture piece to give it a more ornate look. This can be achieved by using wood appliques or by creating your own custom molding using a router.
Overall, adding finishing touches to your DIY furniture project is an important step in achieving a polished and professional look. By sealing and protecting your work and adding decorative accents and hardware, you can create a unique and personalized piece that you’ll be proud to display in your home.